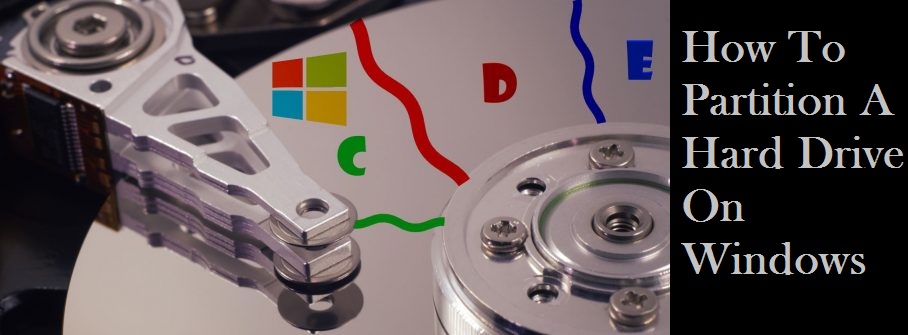
Disk partitioning is the process of dividing your hard drive into several parts. When we speak of drives labeled C:, D:, and etc, we are basically speaking of partitions or sections created on your physical hard drive. Creating partitions allows users to separate their OS and programs, which can prevent corruption of the data. If you are looking forward to partitioning your hard disk, then you need to go through this article thoroughly. Here, we have provided you with the necessary steps to create a partition on a hard drive on Windows.
First, you need to make a complete image back up of the current condition of your drive. This step is a precaution, and if some disaster happens you can always reset your PC to that backup.
How To Create A Partition On A Hard Drive
- Open the Run dialog box by pressing the Windows key + R from your keyboard.
- Type diskmgmt.msc in that box, and press Enter. Disk Management utility program will open.
- Next, you need to create space for the new volume. To do that, right-click on the partition of your choice and select Shrink Volume.
- Now, you need to enter a value in the field indicated by “Enter the amount of space to shrink in MB.” Enter a value that is less than “Size of available shrink space”. The value you enter is the space that will be shrunk by in that drive. Suppose you enter 1000, then your disk will be shrunk by 1 GB.
- Now, you will find a new partition in the Disk Management window. Right-click on it and select New Simple Volume from the list of options presented.
- The New Simple Volume Wizard will now open. On that wizard, click on Next to continue with the process.
Creating The New Volume
Next, you need to work with the simple volume wizard to complete the disk partitioning process. You need to assign disk space and name it for example. Follow these steps to create the new volume:
- In the New Simple Volume Wizard, enter the disk space you wish to allocate to it. After you have entered a value, which must be lower than the value indicated by Maximum disk space available, click on Next.
- Now, you need to assign a pathname for the new partition. You can select an alphabet like F:, G:, or anything.
- Click on the option named Format this volume with the following settings, and set these values to the following options:
- File System-NTFS
- Allocation unit size-Default
- Volume label-type the name you wish to give to your volume
- Click on Perform a Quick Format, then click Next.
- Click Finish.
- Next, a prompt will appear asking to format your new drive. Click on Format disk.
- On the new window that opens, click on Start. Then click OK on the pop-up.
That’s it. If all the steps were performed correctly, you have created a new partition on your hard drive and should see it in the Disk Management window.
This is the process of creating a partition on a hard drive. Hope, after following the steps as mentioned, you can partition your hard drive on Windows.