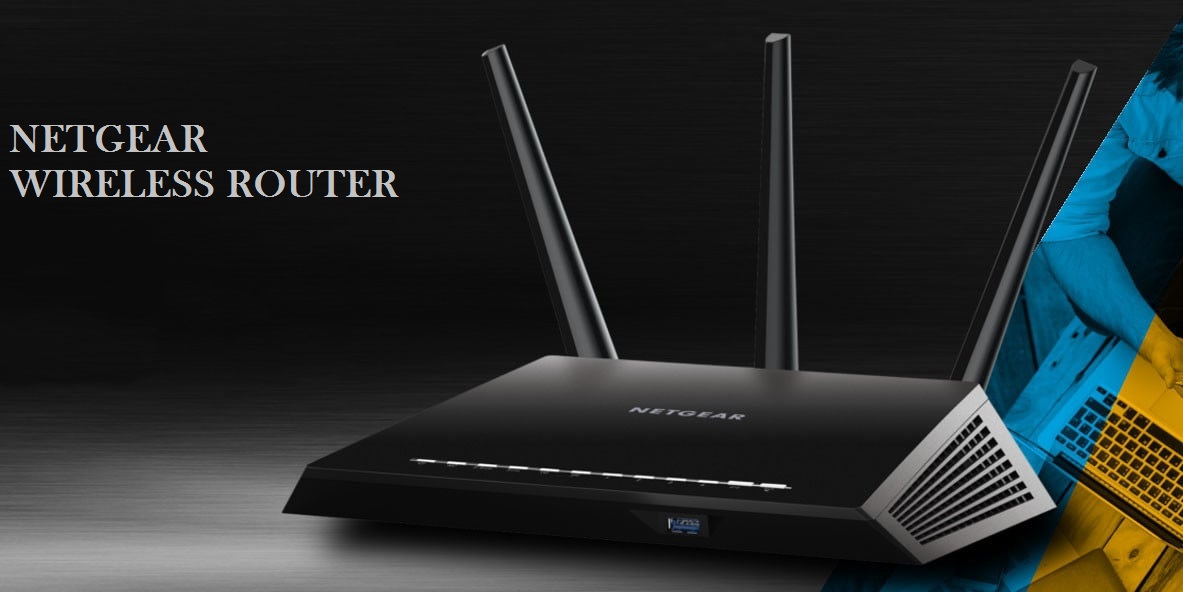
Changing the password and the username on your Netgear WiFi router may appear to be a bit tough only if you are not sure about the easy steps. The steps can be a bit daunting as well as take a pretty long time to cover up the entire process. Hence, if you are searching for the right steps that can make your task easy, this post can make your work simpler.
Netgear Wireless Router Login and Setup
The first thing that you will need to know is the router’s IP address or the thing that is usually called the “Default Gateway”. Secondly, you will also need to know the router login information. That means you will need to know the exact password and the username. By default, the username should be “Admin” and password should be “Password” as it is.
You will also need to connect the router to the PC. However, before proceeding, remember that when you are trying to configure the Netgear router, directly connect the PC to the router without attaching it to the modem. After you complete configuring the mandatory settings alone, you will be able to connect the modem between your ISP and your router.
In short, you will need to check that the communication between your PC and the router is smooth. After you power on the Netgear router, you will need to check for the assigned login IP address. Remember that for most of the Netgear routers, the default login address will be “routerlogin.net” or “192.168.1.1”. If you wish to check the default login IP address of the router, you will have to check the instruction booklet or just follow the simple steps that are derived in this post.
How To Login To Netgear Wireless Router?
Step 1
Open the Run dialogue box by pressing Windows + R keys. Then, type the code ‘cmd’ and press OK to open the command prompt. Next, you will need to type in the following command, ipconfig<space>/all. This will help you to view all the related network configurations. You can also check for the default gateway and it will be your router login IP address.
Step 2
After you are able to find the Netgear router login IP address, open any web browser and enter the IP address. Hit the enter key and input the default login credentials. The login credential will also be listed in the booklet that is provided with your device. Else, you can also locate the same credentials by checking on the back of the model.
Step 3
If you are about to configure the Netgear router, it will need you to check the playlist. There, you will need to access some of the useful steps that can bring about the necessary changes in the settings.
Additional Steps to Login and Set Up Netgear Wireless Router
For instance, you may also check for the simple yet effective steps that are also quite beneficial in order to do the needful. Simply have a look below:
- Launch a specific web browser from your PC or wireless device. Make sure that it should be connected to your router’s network.
- Type “http://routerlogin.net” in the address bar of your web browser.
- It will display the login window.
- Next, enter the router username and password into the default settings. This will appear the BASIC Homepage.
- Click to select ADVANCED > Administration > Set Password.
- Enter the old password, and then type the new password twice to save the changes.
- In order to be able to recover your password in the future, select the Enable Password Recovery check box.
- Click on the Apply button.
- It will save all the changed settings.
All the above methodologies are easy to carry out. Hence, give them a try and see which one works the best for your assistance.

